In the quest for enhanced outdoor privacy, New Bedford, MA residents increasingly turn to privacy fence installation. This comprehensive guide explores the benefits and diverse types of fences, offering insights into selecting the perfect fit for your space. From meticulous preparation to a detailed step-by-step installation process and post-installation maintenance tips, we ensure your journey towards optimal privacy is both informed and successful.
- Understanding Privacy Fences: Benefits and Types
- Preparation for Installation in New Bedford, MA
- The Installation Process: Step-by-Step Guide
- Post-Installation Maintenance Tips for Longevity
Understanding Privacy Fences: Benefits and Types
Privacy fences serve as more than just barriers; they are investments in your home’s security, peace of mind, and property value. These structures provide a sense of seclusion, shielding your outdoor space from prying eyes and unwanted visitors. Depending on your needs and preferences, privacy fences come in various types, each with unique features and benefits.
Wooden fences, for instance, offer a classic aesthetic appeal, while vinyl fences are known for their durability and low maintenance requirements. Chain-link fences, on the other hand, provide maximum visibility but still ensure privacy by blocking out direct line-of-sight. Each type comes with its own set of advantages, from enhancing curb appeal to providing noise reduction, making them suitable for different properties and homeowners’ desires.
Preparation for Installation in New Bedford, MA
Before any privacy fence installation in New Bedford, MA, it’s crucial to prepare the site thoroughly. This involves clearing the area of any obstructions, like trees or bushes, that could interfere with the placement and structure of the fence. Measurements are taken to ensure the fence aligns perfectly with property lines, adhering to local regulations.
The ground should be levelled and compacted to provide a solid foundation for the posts. This may involve some minor excavation and grading to ensure the fence stands strong against the elements and offers maximum privacy. Once prepared, the installation crew can focus on setting the posts, making sure they’re securely anchored in place.
The Installation Process: Step-by-Step Guide
The installation process for a privacy fence begins with a thorough site assessment. Our expert team measures the area, considers local regulations, and discusses your specific needs and preferences. Next, they clear the site, ensuring it’s ready for construction. This involves removing any obstacles, trimming branches, and preparing the ground.
The actual installation follows a step-by-step process. Post holes are dug at precisely measured intervals to ensure stability. The fence posts are then set in place, using concrete to secure them firmly. After the posts have set, the horizontal rails are attached, providing a strong foundation for the panels. The panels themselves are installed, secured with brackets, and finally, any gates or other accessories are added. Throughout this process, our team maintains open communication, ensuring your satisfaction with every step.
Post-Installation Maintenance Tips for Longevity
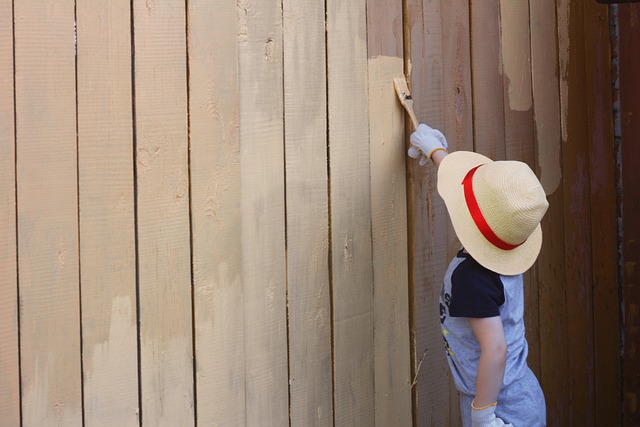
After your privacy fence is installed, proper maintenance will ensure its longevity and keep it looking its best. Regular cleaning is essential; brush or vacuum debris from the fence regularly, especially after storms or high winds. This prevents damage caused by accumulated dirt and debris. Use a soft-bristled brush for wooden fences to avoid scratching the surface.
Additionally, applying a fresh coat of paint or sealant annually will protect the fence from moisture, UV rays, and extreme temperatures. Check for any signs of rot, decay, or damaged boards and repair them promptly. Keep an eye out for loose posts and rails, tightening them as needed to maintain stability. Regular maintenance will not only preserve the appearance but also strengthen the structural integrity of your privacy fence.